
Views: 222 Author: Farwise Lighting Publish Time: 2026-08-31 Origin: Site


Content Menu
● Why Architectural Neon Lighting Fails
● Common Failures and Prevention Methods
>> 1. Uneven Brightness Caused by Voltage Drop
>> 2. Flickering from Incompatible Drivers or Loose Connections
>> 3. Overheating and Premature Light Degradation
>> 4. Water Ingress in Outdoor and Bathroom Applications
>> 5. Mechanical Damage from Incorrect Bending and Installation
● Failure Prevention Before Installation
>> A Practical Pre-Installation Checklist
● Choosing a Reliable Architectural Neon Lighting Partner
● FAQ
>> 1. What causes architectural neon lighting to dim at one end?
>> 2. Why does LED neon lighting flicker after installation?
>> 3. Can architectural neon lighting be used in bathrooms?
>> 4. Can I cut LED neon flex anywhere I want?
>> 5. Why is my LED neon flex peeling or sagging?
>> 6. How can I prevent water from entering outdoor LED neon lighting?
>> 7. Is an LED power supply important for architectural neon lighting reliability?
Architectural neon lighting can transform a façade, ceiling cove, reception wall, retail display, hotel corridor, or residential interior into a distinctive visual feature. Yet even a well-designed lighting concept can lose its impact when LED neon flex suffers from uneven brightness, flickering, water ingress, color inconsistency, detachment, or early failure.
After working with furniture lighting and commercial LED projects, we have found that most architectural neon lighting failures do not begin when the light stops working. They begin much earlier—during product selection, circuit planning, installation, sealing, or handover. The good news is that many of these failures are preventable when designers, contractors, and lighting buyers treat the system as a complete solution rather than a single flexible light fixture.
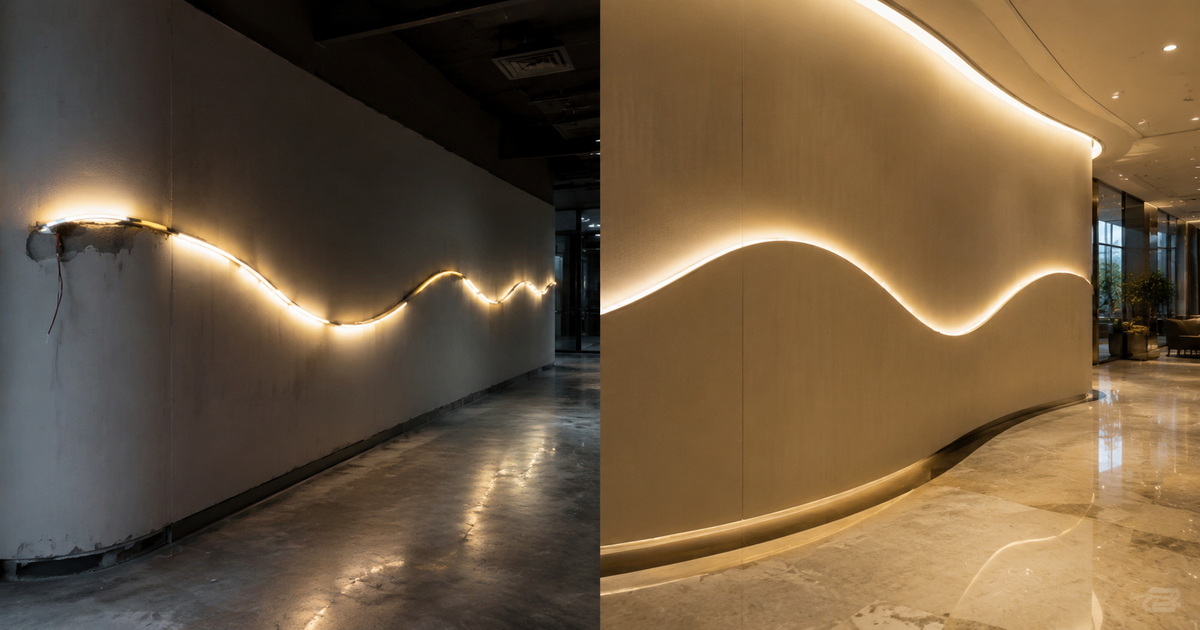
Architectural neon lighting typically refers to LED neon flex, silicone strip lighting, flexible linear lighting, and related concealed lighting systems used to create continuous illuminated lines. Unlike traditional glass neon, modern LED neon lighting is lighter, safer, more energy-efficient, and easier to integrate into interior and exterior applications.
However, an LED neon lighting system is not only the visible silicone light body. It also includes:
- The LED neon flex or silicone strip light
- LED power supplies and drivers
- Dimmers, controllers, receivers, and smart control systems
- Wiring, connectors, end caps, and mounting accessories
- Aluminum profiles, clips, or installation channels
- Waterproof seals and cable entry points
- The installation surface and surrounding environment
A failure in any part of this system can affect the final lighting result. For example, a high-quality LED silicone strip light may still flicker if paired with an unsuitable LED power supply. A waterproof neon light may still fail outdoors if the installer leaves a cut end unsealed or allows rainwater to travel along the cable.
| Common failure | Typical symptoms | Main cause | Recommended prevention |
|---|---|---|---|
| Voltage drop | Dimming at the end of a long run | Excessive circuit length or poor power distribution | Divide runs, use parallel wiring, and add power feeds where needed |
| Flickering | Intermittent flashing or unstable output | Loose wiring, mismatched driver, poor connector contact | Match all components and test connections before final mounting |
| Overheating | Reduced brightness, discoloration, premature failure | Poor heat dissipation or enclosed installation | Use suitable mounting channels and provide ventilation |
| Water ingress | Partial outage, corrosion, tripping, or short circuits | Improper end sealing, cable wicking, damaged joints | Use appropriate protection levels, sealed accessories, and drip loops |
| Uneven light output | Bright spots, dark sections, inconsistent appearance | Wrong bend direction, damaged light body, poor installation | Follow bend instructions and avoid pressure, twisting, and creasing |
| Adhesive or mounting failure | Sagging, peeling, shifted lighting line | Dirty surface, unsuitable adhesive, inadequate clips | Clean the substrate and use mechanical support where required |
| Color inconsistency | Different color appearance between sections | Mixed batches, inconsistent control signals, incompatible components | Source matched batches and confirm control compatibility |
| Driver failure | Entire section turns off or behaves abnormally | Overloaded, overheated, inaccessible, or unsuitable power supply | Allow load headroom, ventilation, and maintenance access |
Uneven brightness is one of the most common architectural neon lighting complaints. The first section near the power source appears bright and uniform, while the far end looks visibly dimmer. In premium retail, hospitality, residential, and façade projects, this can make an otherwise elegant linear lighting design look unfinished.
Voltage drop occurs because electrical resistance increases over longer cable and lighting runs. As power travels farther from the driver, the voltage available to the LEDs gradually decreases. The result is reduced brightness, inconsistent color appearance, or unstable operation at the end of the run.
This issue is especially common when a long LED neon flex line is powered from only one end.
How to prevent voltage drop:
- Confirm the maximum recommended continuous run length before layout approval.
- Avoid assuming that one power feed can support an entire long cove, wall, or façade line.
- Use parallel power distribution instead of connecting excessive lengths in series.
- Feed long lighting sections from both ends when the project design requires it.
- Position LED power supplies strategically so cable routes remain practical.
- Test the full lighting run before the final installation is sealed or concealed.
A useful planning principle is simple: the longer the illuminated line, the more important power distribution becomes. This should be considered during the drawing stage—not after the project is already installed.
Professional installation guidance also recommends matching the LED strip input voltage to the power supply, respecting maximum run lengths, and using parallel connections for longer applications.
Flickering architectural neon lighting is often mistaken for a problem with the LED light itself. In practice, the root cause is frequently found in the electrical system.
A neon lighting line may flicker because of:
- A power supply with insufficient capacity
- A driver that does not match the lighting system
- Loose terminals or poorly crimped wires
- Reversed polarity
- Unreliable solderless connectors
- Incompatible dimming or smart-control devices
- Voltage fluctuations from the supply circuit
- Damaged wiring hidden inside cabinetry, walls, or ceilings
In cabinet lighting, wardrobe lighting, bathroom cabinet lighting, and bed lighting projects, the problem can become more complicated when multiple sensors, touch switches, dimmers, or wireless controllers are added to the circuit.
For example, an LED wardrobe light may function correctly in a basic test. Once connected to a door sensor, dimmer, and low-quality driver, the lighting may flash, fail to dim smoothly, or switch on and off unpredictably.
How to prevent flickering:
1. Select an LED power supply designed for the operating voltage and total lighting load.
2. Keep a reasonable capacity margin instead of running the driver continuously at its maximum output.
3. Confirm that the dimmer, receiver, controller, and driver are compatible.
4. Match positive and negative polarity markings across every connection.
5. Use reliable connectors or professionally soldered joints where appropriate.
6. Test every lighting section with its final control system before installation is completed.
7. Keep drivers accessible for inspection and replacement.
A pre-installation test is one of the most valuable steps in any project. Before adhesive backing is removed, channels are closed, or ceiling details are finished, connect the complete system and test it under realistic operating conditions. Installation guidance specifically recommends verifying polarity, component matching, and full operation before final mounting.
LED architectural neon lighting is often chosen for its low heat output compared with traditional lighting. But "low heat" does not mean "no heat." Every LED system produces some heat, and poor thermal management can reduce performance and shorten usable service life.
Overheating is more likely when LED silicone strip lights are installed:
- Inside unventilated cavities
- Behind tightly sealed decorative panels
- In enclosed furniture channels
- Close to insulation or heat-generating equipment
- On surfaces that cannot dissipate heat effectively
- While still wound tightly on a reel during testing
Common warning signs include reduced brightness, yellowing materials, inconsistent color, early driver failure, or sections that stop working before the rest of the installation.
From a manufacturing perspective, overheating is rarely caused by one factor alone. It is usually the result of high ambient temperature, poor installation space, inadequate heat transfer, and a driver operating too close to its limit.
How to prevent overheating:
- Select lighting systems appropriate for the installation environment.
- Use aluminum mounting channels or profiles when the design allows.
- Avoid packing the light body into overly tight cavities.
- Allow airflow around drivers and control equipment.
- Keep power supplies away from insulation, steam, direct sun exposure, and other heat sources.
- Do not energize flexible LED lighting while it remains tightly coiled on the packaging reel.
- Schedule a post-installation inspection after the system has operated for an extended period.
A clean, flat installation surface and suitable aluminum mounting support can improve stability and help the lighting system operate more effectively over time.
Water ingress is among the most expensive architectural neon lighting failures because moisture can damage more than one component. It can affect the LED light body, connector, cable, driver, terminal block, control unit, and nearby electrical infrastructure.
This risk is relevant not only for exterior façade lighting. It also matters in bathrooms, vanity areas, spa zones, kitchens, covered balconies, garden installations, and semi-outdoor commercial spaces.
Many buyers focus only on the protection rating of the LED neon flex. That is not enough. A lighting system is only as water-resistant as its weakest point.
Common weak points include:
- Cut ends that were not resealed correctly
- Incomplete end caps
- Poorly applied sealant
- Connectors without adequate protection
- Damaged silicone housings
- Cable entry points without glands or grommets
- Power supplies placed in wet or poorly ventilated locations
- Cables installed without drip loops
A drip loop is a small downward loop in a cable route. It prevents rainwater from moving directly along the cable and into a connector or enclosure.
How to prevent water ingress:
- Choose the appropriate environmental protection level for the actual installation location.
- Do not rely on surface tape as the only waterproofing method.
- Use compatible end caps, factory-approved connectors, and suitable sealing materials.
- Seal every cut end carefully according to the lighting system's installation requirements.
- Use cable glands or waterproof grommets at enclosure entry points.
- Position power supplies where they are protected from water, condensation, and direct exposure.
- Add drip loops to exterior cable routes.
- Inspect seals after installation, especially around corners, joints, and cable entries.
Protection ratings describe resistance to dust and water exposure, but they do not automatically mean every field connection will remain protected after cutting or modification. For outdoor neon flex, sealing cut ends, using suitable cable protection, and avoiding reliance on waterproof tape alone are important long-term precautions.
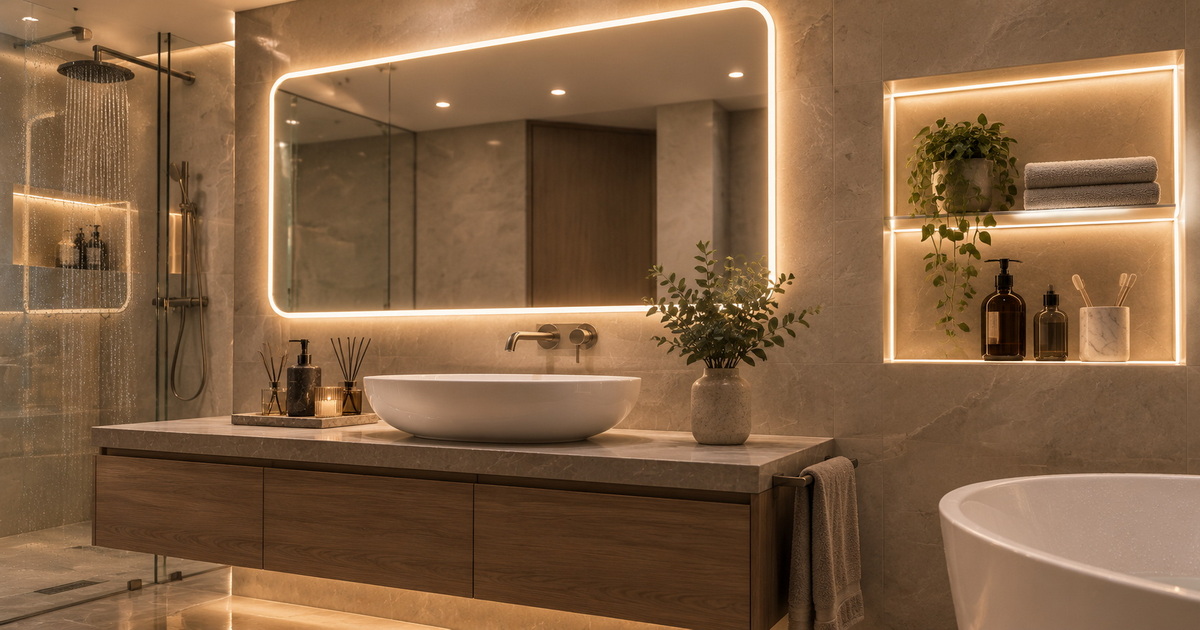
Architectural neon lighting is flexible, but it is not indestructible. Many failures occur because installers treat LED neon flex like a rope or rubber tube that can bend, twist, fold, or compress in any direction.
Each neon light design has a specific bending direction and minimum bend radius. Exceeding those limits can damage internal conductors, LED circuits, optical structures, or silicone housings.
The damage may not be immediately visible. A light line may work during initial testing but develop flickering, dark sections, or inconsistent output later because internal wiring was stressed during installation.
Avoid these installation mistakes:
- Twisting the neon flex during mounting
- Folding it sharply around corners
- Bending it sideways against its intended direction
- Pulling it forcefully through narrow channels
- Pressing heavily on the illuminated surface
- Cutting outside marked cut locations
- Using too few mounting clips or supports
- Installing the light with tension rather than allowing natural alignment
This is especially important for curved feature walls, logo lighting, circular ceiling details, and furniture lighting with narrow installation spaces.
Best practice: create a full-size layout or temporary mock-up for complex curves. This allows the installer to confirm the route, mounting points, power-entry position, and visual effect before making permanent cuts or drilling holes.
Manufacturers commonly advise against twisting, folding, creasing, applying excess pressure, or cutting outside designated points because these actions can damage flexible LED lighting systems.
The strongest way to prevent architectural neon lighting failure is to make key decisions before installation begins.
- Confirm the application: indoor, bathroom, covered outdoor, façade, landscape, or furniture lighting.
- Measure every lighting route, including bends, corners, cable paths, and power supply locations.
- Identify whether the installation requires top-bend, side-bend, straight-line, curved-line, or custom-shaped neon lighting.
- Confirm the operating voltage and compatibility of all system components.
- Plan power distribution for every long run.
- Verify the location, ventilation, and maintenance access for LED power supplies.
- Select control methods early, including dimming, touch control, motion sensors, door sensors, remote control, and smart-home integration.
- Specify suitable mounting accessories for the substrate material.
- Confirm the moisture and dust conditions around connectors and power entry points.
- Test all components before the final installation.
For commercial buyers, contractors, and project managers, this checklist can prevent costly rework. It also creates clearer communication between the lighting supplier, interior designer, electrical contractor, furniture manufacturer, and end customer.
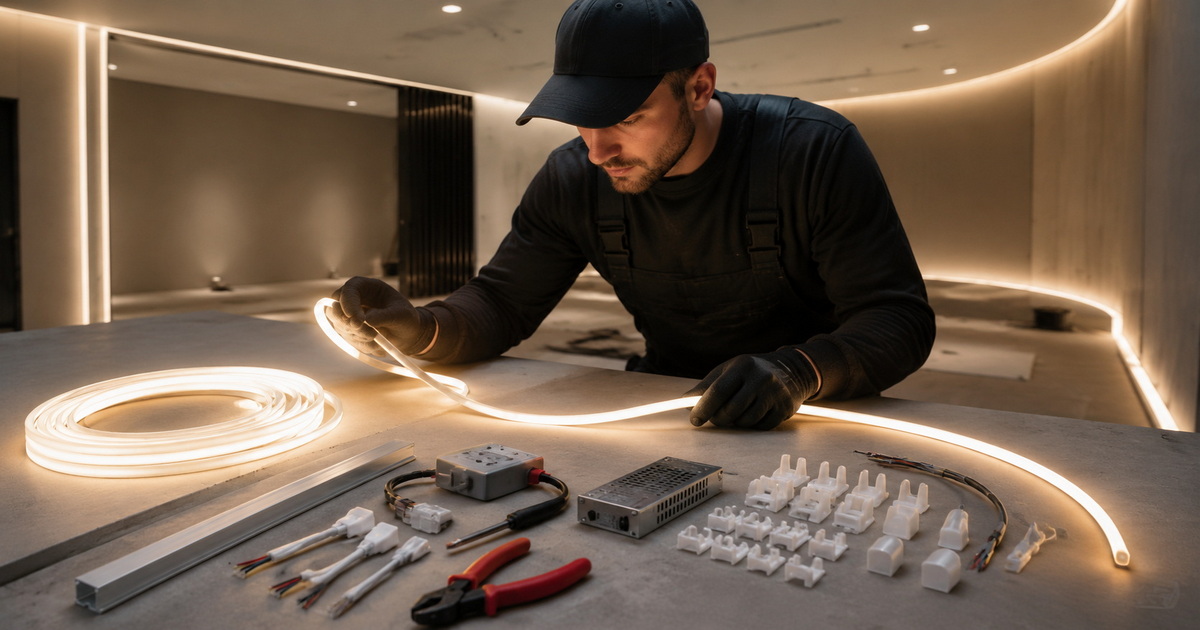
A quality lighting project depends on more than product appearance. Buyers should evaluate a supplier's ability to support the full project cycle—from concept development and sample confirmation to production consistency, packaging, technical support, and replacement planning.
When evaluating an architectural neon lighting manufacturer, ask the following questions:
- Can the supplier provide a complete lighting solution, including LED neon flex, cabinet lights, wardrobe lights, bathroom cabinet lights, and LED power supplies?
- Can the supplier support OEM and ODM requirements for length, function, appearance, cable position, control method, and packaging?
- Can the lighting system be adapted for furniture, residential, retail, hospitality, and commercial applications?
- Does the supplier understand power distribution, connector selection, waterproofing, and installation limitations?
- Can the manufacturer provide consistent production quality for repeat orders?
- Can the supplier support project samples and practical installation guidance?
- Are replacement parts, compatible accessories, and technical communication available after delivery?
Farwise Technology Co., Ltd. has focused on LED lighting manufacturing for 16 years, serving customers with LED silicone strip lights, LED cabinet lights, LED wardrobe lights, LED bathroom cabinet lights, LED power supplies, and integrated furniture lighting solutions. For customers developing residential, commercial, smart-home, or customized lighting projects, a system-based approach helps reduce compatibility risks and simplifies sourcing.
The most common architectural neon lighting failures—voltage drop, flickering, overheating, moisture damage, uneven illumination, and mechanical damage—are not unavoidable. They are often the result of incomplete planning, mismatched components, incorrect installation, or insufficient protection at vulnerable points.
A successful project requires more than choosing an attractive LED neon flex. It requires the right power supply, thoughtful circuit design, compatible controls, suitable mounting, proper sealing, and careful testing.
If you are planning an architectural neon lighting project, furniture lighting line, cabinet lighting system, wardrobe lighting solution, bathroom vanity lighting design, or customized LED silicone strip light application, contact Farwise Technology Co., Ltd. to discuss your OEM or ODM requirements. Our team can help you turn a lighting concept into a practical, stable, and visually consistent solution.
The most common cause is voltage drop. When an LED neon flex run is too long or powered from only one side, the voltage available to LEDs farther from the power source can decrease. Divide the run, use parallel wiring, or introduce additional power feeds based on the system design.
Flickering can result from a loose connection, reversed polarity, overloaded power supply, unstable input power, damaged wiring, or incompatibility between the LED driver, dimmer, and controller. Test the complete system before final mounting and confirm that every component is designed to work together.
Yes, but the lighting system must be selected and installed for the actual moisture conditions. Consider the location of the light, the protection level of the fixture, the sealing quality of cut ends and connectors, and the placement of the LED power supply away from water and condensation.
No. LED neon flex should only be cut at designated cut marks. Cutting elsewhere can damage internal circuits, prevent correct sealing, create dark sections, and compromise moisture protection.
This usually happens when the installation surface is dusty, greasy, uneven, damp, or incompatible with the adhesive. For long runs, curved designs, vertical installations, and commercial projects, use appropriate mounting clips, channels, or mechanical support in addition to adhesive.
Use a lighting system suitable for the environment, seal all cut ends with compatible accessories, protect cable entry points with glands or grommets, place drivers in protected locations, and create drip loops in exterior cables. Do not depend on waterproof tape as the sole long-term sealing method.
Yes. The LED power supply is a core part of the lighting system. It must match the lighting voltage, support the intended load with adequate margin, work with the selected dimming or control method, and be installed in a ventilated, accessible location.
1. Flexfire LEDs. "[LED Strip Light Installation Guide]." Guidance on power supply matching, maximum run considerations, polarity checks, cutting practices, installation surfaces, heat management, and safety precautions. [flexfireleds]
2. HitLights. "[LED Strip Lighting Safety: Installation Checklist and Safety Tips]." Guidance on component selection, power planning, connector use, overload prevention, periodic inspection, and heat management. [hitlights]
3. CLEAR Lighting. "[Outdoor LED Neon Flex: A Practical Waterproofing Guide]." Information on water protection levels, cable wicking, drip loops, cable glands, sealed connectors, and limitations of waterproof tape. [clearlighting]
4. Hyperlite. "[Fix LED Neon Flex Dimming: Voltage Drop Solutions]." Overview of voltage drop mechanisms in LED neon flex and practical power-injection approaches. [hi-hyperlite]
5. MSHLED. "[How to Cut and Connect LED Neon Flex Lights]." Installation considerations for cutting, polarity, connections, sealing, testing, mounting support, and bend protection. [stripsledlight]


